Espresso Shot Timer Guide: Make Every Morning Shot Consistent
By Kenji Tanaka • 17th Sep
Quick answer
Recorded shot time is most useful as one part of a consistent log, not a stand-alone recipe. Pair elapsed time with dose, beverage yield, timing convention, and taste; a 25–30-second guideline is only a starting point.
- Short answer: Begin with either pump/button start or first-drip timing, then use the same convention every time. Pump-start timing includes pre-infusion, so the numbers are not directly interchangeable.
- Key distinction: A timer records duration; a scale measures dose and output.
- Action: Create one baseline: repeat your dose and target yield, record time and whether timing began at pump activation or first drip, add a taste note, then change only one variable.
Important: The evidence summarized here does not establish a universal ideal extraction time or identify built-in, retrofit, scale, phone, or app timers as best for every barista.
An espresso shot timer guide should make your morning simpler, not give you another number to obsess over. Time is a useful record of what happened during extraction, but it only becomes actionable when you pair it with a consistent dose, a measured beverage yield, and what the espresso tastes like. Set up that small loop well and you can adjust with purpose instead of guessing before work.
Predictable maintenance beats panic, and predictable measurement does the same for dialing in.
What does an espresso shot timer actually measure?
An espresso shot timer measures elapsed extraction time. It is not a delayed-start or "morning timer" that turns a coffee maker on at a scheduled hour.
Used with a scale and brief notes, shot timing can help identify parameter changes and reproduce a result you liked. If yesterday's coffee tasted balanced and today's tastes off, review elapsed time alongside dose and yield to see what changed.
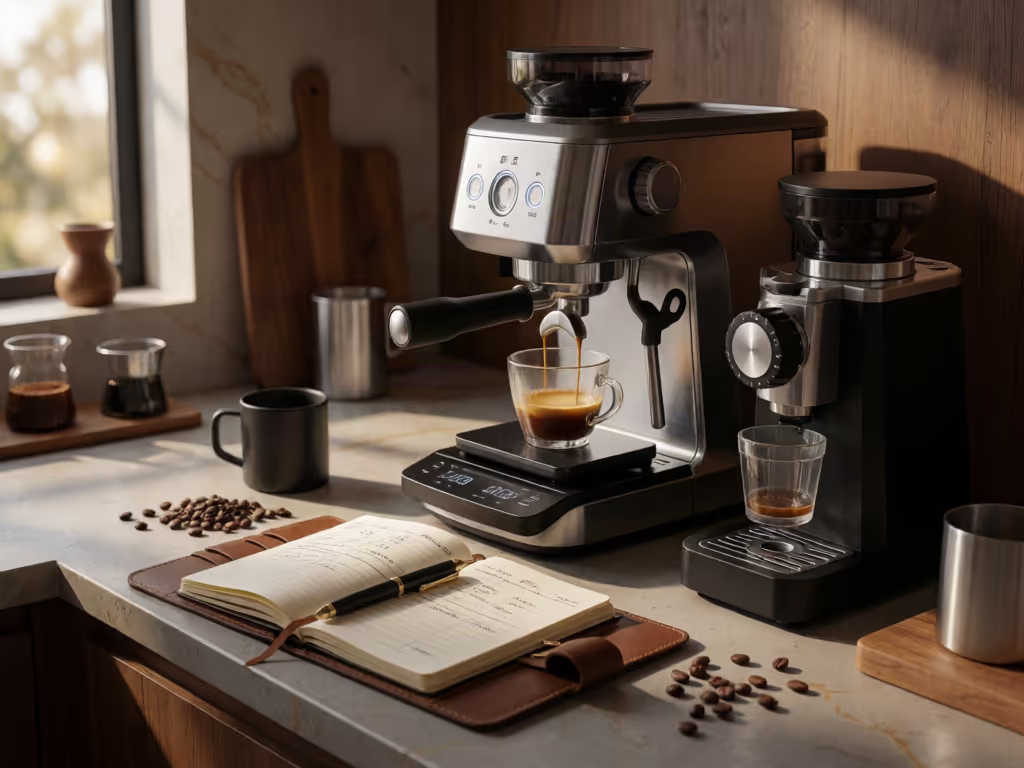
For a useful record, capture four items together:
- Dose: the coffee you put into the basket.
- Yield: the espresso beverage weight you collect.
- Time: elapsed seconds, using one timing convention.
- Taste: a short note, such as balanced, sharp, harsh, thin, or otherwise.
That is the foundation of practical espresso brew time control. Holding dose and yield steady gives time a clear job: it shows how a grind adjustment changed the shot.
What should be on the counter?
Tool list up front:
- A timer: machine display, scale timer, phone, or manual timer
- A scale capable of weighing your dose and finished beverage
- A notebook or simple digital note
- Your normal cup or serving glass
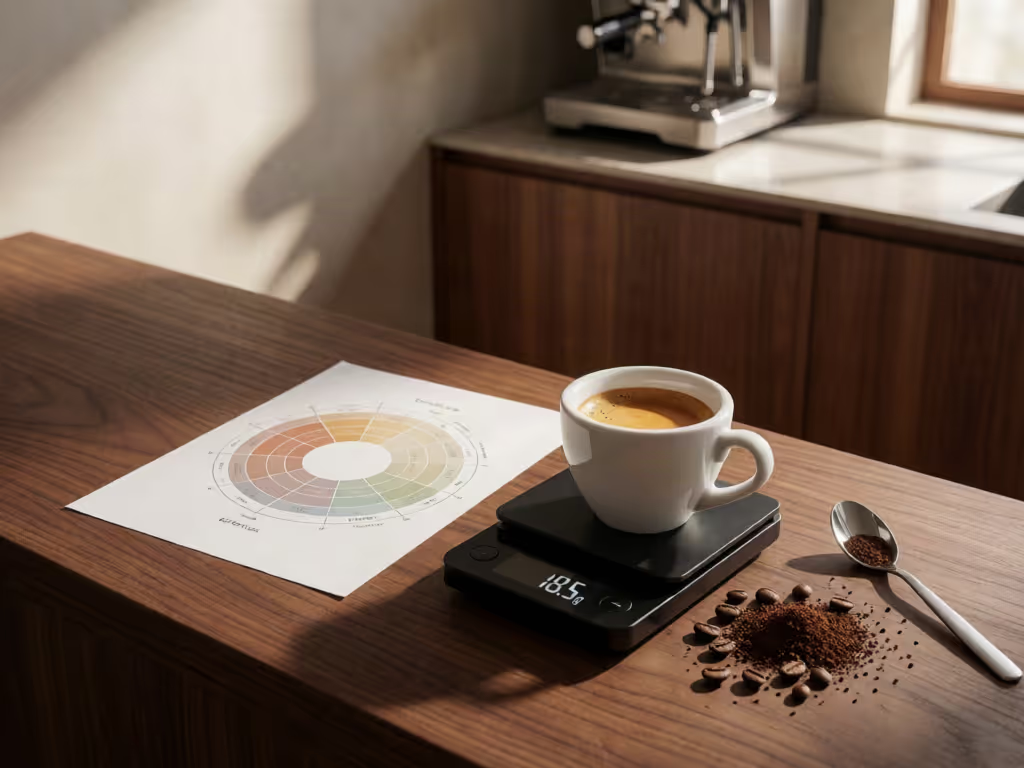
A scale is especially useful because weighing dose and output helps maintain a dialed-in result. Keeping a brief shot log of parameter changes also makes it easier to identify what changed and reproduce a result you liked.
When should you start the timer: pump on or first drip?
Start with this question before comparing any time numbers. There are two common conventions described in espresso guidance:
- Pump/button start: Begin timing as soon as you activate the brew control.
- First drip: Begin timing when espresso first appears.
These are not interchangeable. Pump-start timing includes pre-infusion, while first-drip timing does not. The same physical shot can therefore show different elapsed times on a machine-based timer and on a scale that begins at first drip.
Choose one convention, write it in your notes, and keep using it. That consistency matters more than arguing that one number is universally correct. If you switch tools, confirm how the new timer starts before treating its result as comparable to your old log.
How long should you time an espresso shot?
A HiBREW manufacturer guide uses 25-30 seconds as a starting guideline for a 1:2 recipe, illustrated as 18 g of coffee in and 36 g out. Treat that as a starting point, not a rule, and always state the timing convention. A 25-second pump-start shot that includes pre-infusion is not directly comparable to a 25-second first-drip shot.
A cleaner way to use the guideline is:
- Pick a dose you can repeat.
- Pick a target yield you can measure.
- Select pump-start or first-drip timing.
- Pull a shot and taste it.
- Adjust grind to move toward your intended time and yield, then taste again.
The point is not to force every coffee into one window; for a fuller process, see this guide to dialing in espresso. The point is to make each change legible. Fix the workflow bottleneck; longevity follows with fewer surprises. In this case, the bottleneck is often not your palate, it is not knowing which variable changed when a shot shifts.
Does a built-in shot timer espresso machine replace a scale?
No timer removes the need to measure yield if you want repeatable espresso. A timer records elapsed time, but time still describes only one part of the recipe.
A scale gives you the dose and output data that tell you whether you actually repeated the recipe. Scale-based espresso workflow can help you organize those measurements. A timer tells you how long that recipe took. Use both measurements when dialing in; once you are happy with the coffee, you can decide how much recordkeeping fits a rushed weekday.
Some smart scales can connect to an app for recipe calculations, brew tracking, and saved recipes. Those functions vary by the particular scale and app, so regard them as optional recordkeeping rather than a requirement for consistency.
Is an automatic timer useful?
It can be useful when starting a separate timer is the part of the workflow you routinely miss. For example, Luminaire Coffee's retrofit Automatic Shot Timer is designed to sense a shot start, display seconds, stop when the barista stops the shot, and reset for the next shot. The manufacturer says reliably measured shot time can improve consistency without adding another brewing step; that is a manufacturer claim, not a controlled comparison against scales, phones, or apps.
The practical test is simple: if you already log dose, yield, and time reliably with your scale, an automatic timer may not remove a real problem. If manual timing is where your routine breaks down, automatic elapsed-time display may reduce friction.
What should I know before adding a retrofit timer?
Treat a retrofit as a compatibility question first, not a casual accessory purchase. Luminaire states that its timer is for machines using AC 24 V, 120 V, or 240 V three-way grouphead solenoid valves, and says it can mount without modifying the machine. A retailer description focuses on a magnetic sensor at the group solenoid. The stated voltage details differ between the available descriptions, so verify compatibility directly for your specific machine before ordering.
Compatibility note
If compatibility is not clear from your machine's documentation or the timer maker's support, verify it with the manufacturer before ordering.
How do I build a fast, repeatable morning workflow?
Use a fixed sequence. The order matters because it makes your notes meaningful and removes decisions from the sleepiest part of the day.
The four-step routine
- Dose the same amount each time you are testing a coffee.
- Start your chosen timing convention (pump start or first drip).
- Stop at the same measured yield for your recipe.
- Record time and taste, then make only one adjustment for the next attempt.
A compact note might read: "18 g in / 36 g out / 25–30 s from pump start / balanced." If you time from first drip instead, record that convention without treating the elapsed number as directly interchangeable. The next shot does not need an essay. It needs a baseline.
When the coffee is good, keep the note; if a shot later turns sour, bitter, or inconsistent, use this espresso troubleshooting guide alongside your time records. When it is not, do not chase time alone: retain dose and target yield, adjust grind, and observe the new time and taste. This is espresso workflow optimization in the useful sense (fewer moving parts, clearer feedback, and less wasted coffee).
FAQ
Should espresso be 25 or 30 seconds?
Either can fall within the 25-30-second starting guideline described above for a 1:2 recipe. Neither is automatically "right." Use the same timing convention, measure your yield, and let taste decide whether the recipe is working.
Is a shot timer worth it?
It is worth considering if manual timing is an unreliable step in your routine. An automatic retrofit timer may remove that step, while a scale remains important for tracking dose and beverage yield. The evidence summarized here does not compare built-in, retrofit, external scale, or phone timers to identify the best option for every home barista.
What is the best first change when my shot time shifts?
First check that your dose, target yield, and timing convention stayed the same. Then adjust grind as the next controlled change—your grinder setup can be adjusted to reach your target time and yield—and compare the new time and taste against your saved baseline.
Your next step: create one baseline today
Pull one espresso with a measured dose and yield. Write down the elapsed time and whether you timed from pump activation or first drip. Add one honest taste note. Tomorrow, repeat that same recipe before changing anything.
That single baseline turns elapsed time from a blinking number into one useful data point for your next adjustment.
Related Articles